
Project Number 1: Decorative Door Wreath
Hi Everyone! It's me, Christine! I'm going to keep this post high level on purpose. Later, I will upload details on specifics related to drawing or cutting in other dedicated posts, but I'm too excited about my initial results to slow down and explain every bit right now. Join me in my first adventure with this fun wreath project.
Quick Stats
- Metal Interior Size: 15-inch diameter
- Machine Tool: MAD 4' x 4' CNC Plasma Table
- Plasma Power Supply: Hypertherm Powermax 85
- Consumables: Fine Cut
- Material: 16 Ga (0.0595") Steel
- Level of expertise: I'm a beginner (or lower. Should we say lowest?)
Project Inspiration
I really love front door wreaths. However, we get a lot of direct sunlight, and, therefore, UV light pounding our front door. I’ve had a few wreaths literally crumble from the pressure. Enter super-wreaths. Made of steel and powder coated, they are durable and quite stylish.
My favorite kind included letters that weren’t cut out (i.e., the metal for the letter remains), and swirly, looping monogram font. As a side note, you can get great free for use commercial fonts from sites like FontSquirrel. Okay, let's build one of these things!
Wreath Specifications
Well, what size should I make my little life raft? That depends on the size of your door, with a larger door requiring a larger wreath. Commonly a wreath looks good when it is between 18" to 24" wide hung approximately 14 inches from the top of the standard 36" door. For a wreath I picked up at the art supply store, this means I needed to fill a circle approximately 15" in diameter. Well, 15" sounds like a reasonable number - let's go with it.
Step 1: The Beginner Inkscape User
Good news, everyone! Inkscape, a drawing program, is free! It also saves the files in an .SVG format, which is one of the file formats that Sheetcam supports. Sheetcam can import a bunch of file types, but .SVG and .DXF files are the most common. After watching a few Inkscape beginner videos on YouTube, I tried to sketch my wreath inlay. Hilarity ensued as I tried and repeatedly failed! It was funny because even after watching videos, I couldn’t quite replicate those designs. My initial idea for a Caesar style wreath of two semi-circles of leaves was a bust.
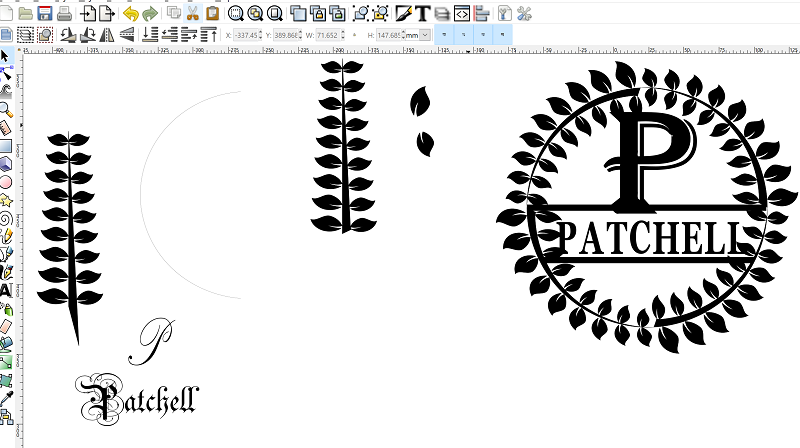
It lacks a certain finesse that the example images I found portray. My leaves are too chubby, and the joints between the surround and the monogram letter hide definition that I want in a finished part. As I gain more skill, this design may be revisited in another blog post.
After these contrived attempts, I forged my own way. I started with three concentric circles with differing widths which were then aligned. A rectangle then bisected the circles. Text was placed into the center and the whole thing was "unioned." The hardest part was learning the rotate and skew functions in Inkscape. In fact, it was tricky enough for a novice I’ll demonstrate the process in the upcoming video. This combination of steps made the rings surrounding the wreath inlay. By making them fairly large, they could easily be attached to an off the shelf floral wreath of ones choosing with ribbon or wire.
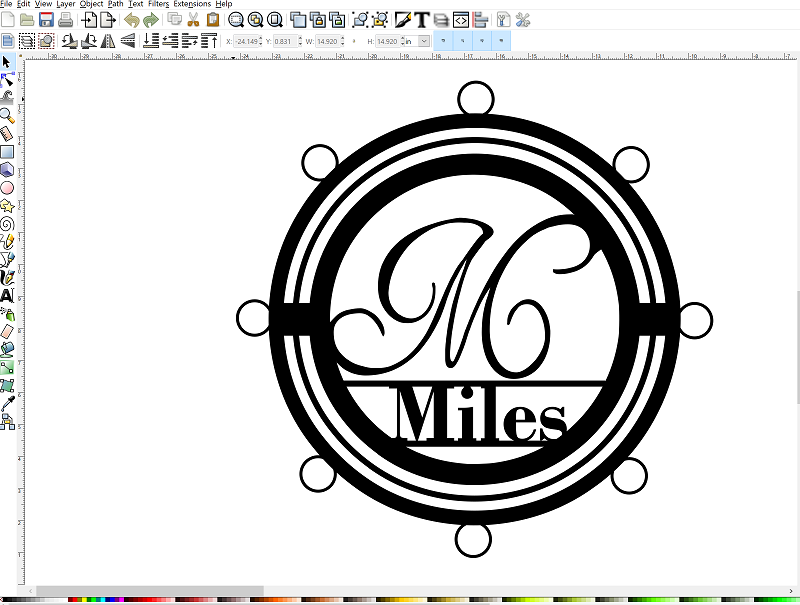
Crucially, the file was finally saved as a plain .SVG file, not an Inkscape .SVG file. This is important! It took a little while for me to figure out that Inkscape's native .SVG was not supported in Sheetcam. Now, it’s ready to be tooled up before cutting.
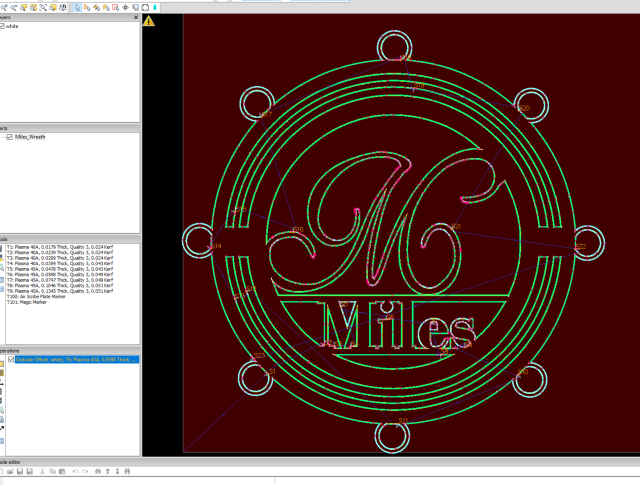
Step 2: Sheetcam
Our tech guy showed me the basics of Sheetcam and we tooled it up easily. Because Sheetcam found the outer cut path and the inner contours, we did not setup layers. I clicked a few buttons following Bob's video and had a file of text that I didn't really understand. To the machine, apparently!
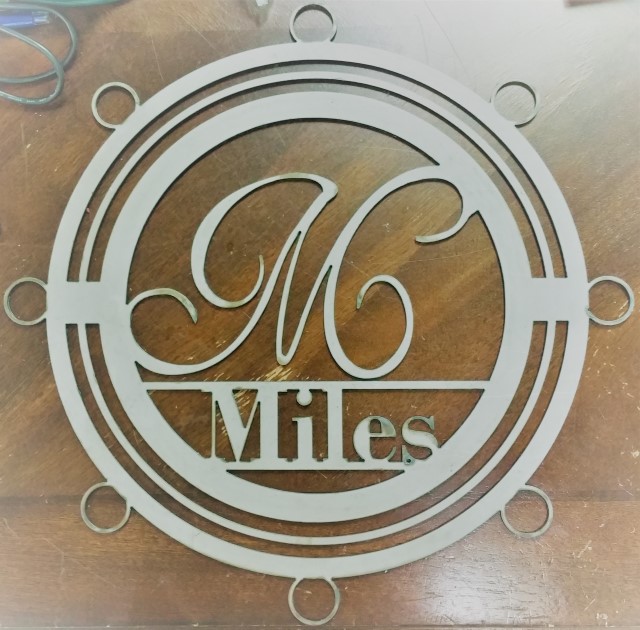
Step 3: Cut
With the plasma table turned on and my work offset chosen near the front left of my sheet, we were ready to cut! Being my first part, I was impressed with how it turned out.
Step 4: Profit! I Mean Paint!
After filing down the dross on the back of the part, it was ready for paint. I handed it off to our powder coaters and BAM; it’s a gorgeous silver! I haven’t powder coated anything. Ever. So, for this first project, I deemed it best to leave it to the professionals. In another blog post, I may tackle powder coating.

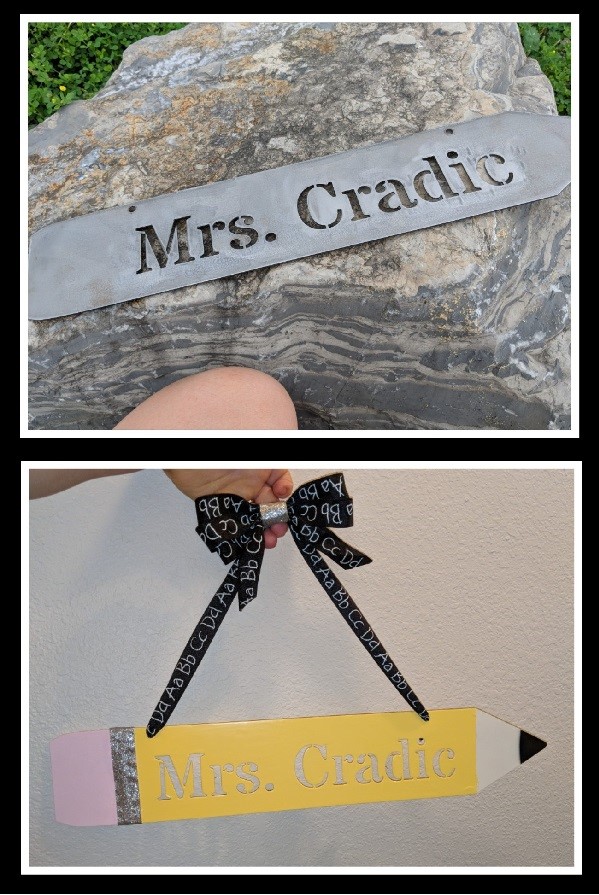
In case you don’t have access to your own powder coaters, the parts can be cleaned with a degreaser and spray painted. Check out this gorgeous teacher’s gift that was created by Sarah on a MAD CNC Plasma table:
Final Thoughts
I love this wreath! It really is versatile and I’m quite proud of the design. Show off your work on our website by sending it to me at WomenThatFab@jd2.com or on Instagram (jdsquaredinc #wtfjd2).